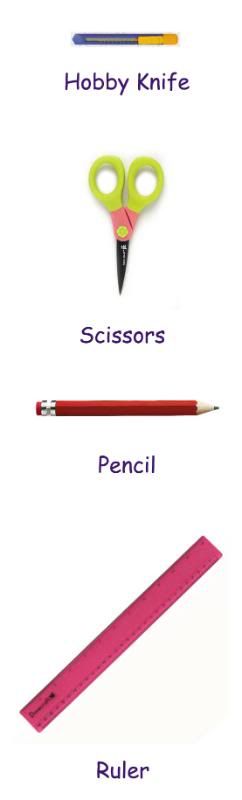
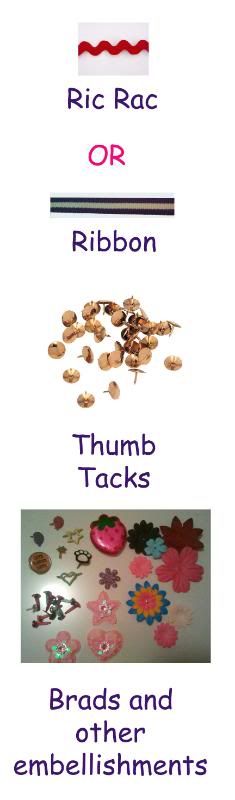
Wednesday 6 July 2011

It's Raining Cats & Dog Embellishments

Here are a few wooden cat and dog embellishments that I made. :D


Tools Required
  You will need

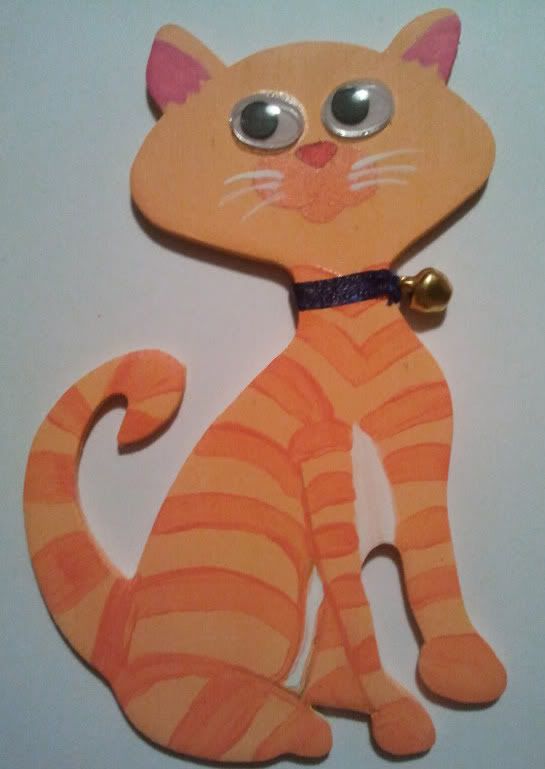
Wooden Cat Embellishments


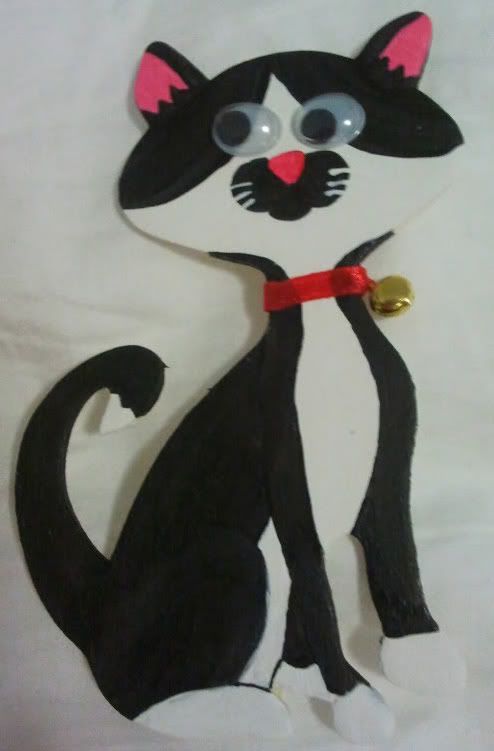
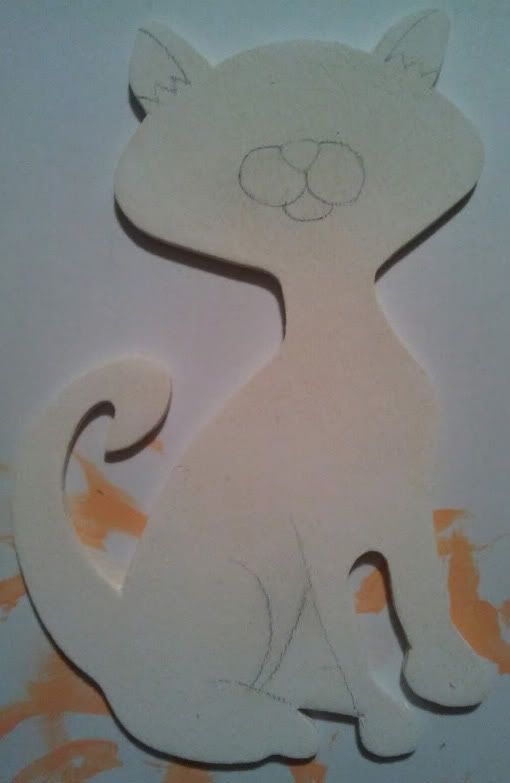
  •  First paint your wooden cat with a white acrylic paint. This will act as an undercoat, so that the wood colour doesn't show through.
  • Then using a pencil draw the cat's features on (nose, ears, mouth, paws etc). 
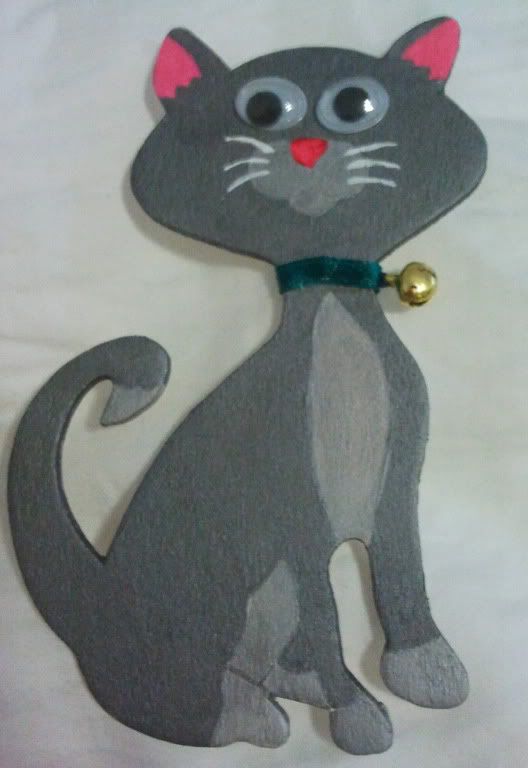
    •  Paint the cat with acrylic paints, using what ever colours you wish, and leave to dry.
    • If you wish your cat to have stripes or spots paint them on and leave to dry.
    • Once dry use a fine paint brush to define where the stomach meets the paws and to add whiskers. Leave to dry, preferably over night.
    • Next glue on a set of googly eyes. As you can see I used oval shaped googly eyes, which I glued on horizontaly and with a slight slant. Leave to dry.
    • Then thread a mini craft bell onto a piece of ribbon. Glue to cat's neck at the front with bell under cat's chin, leaving enough ribbon on either end to glue underneath as well. Leave to dry.
    • Then turn cat over and glue ends of ribbon to the back of cat's neck. (*HINT: Clothes pegs are a great way to hold the ribbon in place until it dries).


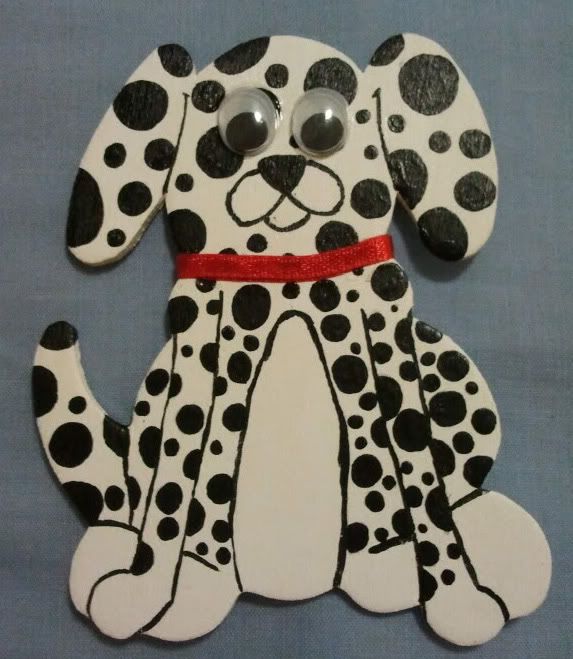
      Wooden Dog Embellishments


      •  First paint your wooden dog with a white acrylic paint. This will act as an undercoat, so that the wood colour doesn't show through.
      • Then using a pencil draw the dog's features on (nose, ears, mouth, paws etc), same as for the cat. 
      •  Paint the dog with acrylic paints, using what ever colours you wish, and leave to dry.
      • If you wish your dog to have spots paint them on and leave to dry.
      • Once dry use a fine paint brush to define the stomach, paws, tail, ears and mouth. Leave to dry, preferably over night.
      • Next glue on a set of googly eyes. As you can see I used oval shaped googly eyes, which I glued on vertically. Leave to dry.
      • Then glue a piece of ribbon to the dog's neck at the front, leaving enough ribbon on either end to glue underneath as well. Leave to dry.
      • Then turn dog over and glue ends of ribbon to the back of dog's neck. (*HINT: Clothes pegs are a great way to hold the ribbon in place until it dries).

        Tuesday 5 July 2011

        4 Hair Clips

        I got sick of not being able to buy the right colour hair clips 2 go with certain outfits, so I made my own. :D

          
        Tools Required

         You will need
        Hair clip #1
        For this one you will need a hair clip, 2 silk flowers (1 smaller than the other), a stitchable diamonte and a thread that matches the colour of your flowers (for this one I used black).  
        1. Sew the smaller flower to the center of the larger one.   
        2. Sew the diamonte in the center of both flowers, using only two stitches through each hole. 
        3. Next stitch through the diamonte and flowers and through the clip, continue doing this until you can no longer stitch through the diamonte. The back of your clip should look something like this.
         
        Hair Clip #2 
        For this one you will need a hair clip, ribbon, a button and co-ordinating thread.
        1. Make two figure 8's out of ribbon and stitch them together so one is horizontal and the other vertical.
        2. Sew a button that matches your colour theme (I used a navy one) to the center of the figure 8's, using only two stitches.
        3. Next stitch through the button and ribbon and through the clip. Continue until you can no longer stitch through the button. The back of your clip should look the same as for Hair Clip #1.

        Hair Clip #3

        For this one you will need a hair clip, ribbon, a wooden embellishment which can be sewn and a co-ordinating thread.
        1. Cut two 4cm lengths of ribbon. Fold them in half and stitch at the bottom. Then stitch together so they are fanned out.
        2. Stitch a wooden embellishment to the ribbon about 2/3 of the way down, using only two stitches.
        3. Next stitch through the embellishment and ribbon and through the clip. Continue until both ribbon and embellishment are tight on the clip. The back of your clip should look the same as for Hair Clip #1.
         
        Hair Clip #4

        For this one you will need a hair clip, ribbon, a silk flower and rosette embellishment and a co-ordinating thread.
        1.  Make two figure 8's out of ribbon and stitch them together so one is horizontal and the other vertical.
        2. Sew the silk flower and rosette embellishment to the center of the figure 8's, using only two stitches.
        3. Next sew through the embellishment and ribbon and through the clip. Continue until both ribbon and embellishment are tight on the clip. The back of your clip should look the same as for Hair Clip #1.


        Monday 4 July 2011

        Photo Boards

        I made a photo board for myself and my boyfriend. These are quite easy to make and are a great way to display a whole heap of photos.

        My Photo Board


        My Boyfriend's Photo Board


        Tools Required

        You will need


        A Blank Canvass


        Step 1
        Using the ruler and pencil mark the width you want your ribbon or ric rac to be apart on the sides of the canvass. Mine were 18cm apart and my boyfriend's were 15cm, I recommend 15cm as this seems 2 hold the photos alot better (unless of course you are planning on using larger photos).

        Step 2
        Start attaching your ribbon or ric rac to the back of your canvass using the thumb tacks, by making sure they line up with your previously marked widths. Make sure you pull the ribbon as tight as possible. (*HINT: I found it easier to leave the ribbon on the roll and cutting it as I was attaching it with the 2nd thumb tack, rather than cutting lengths, as I found that once I pulled the ribbon tight I didn't need quite as much and hence ended up wasting a lot of ribbon).
         
        Make sure they are criss crossing across the front of your canvass. (*HINT: I found it was also more effective to weave the ribbon in and out of the previously attached ribbons). When you are finished the front of the canvass should look like this.

          Step 3
        So here's the fun part. You need to attach each cross section of ribbon to the canvass with a brad. (*HINT: Whilst making my Boyfriend's I discovered that it was easier to attach the cross sections running down the middle to the central board of wood down the back of the canvass with thumb tacks). To attach the brads you will need to use the hobby knife to make slits in the ribbon cross sections as well as the canvass underneath, so that you can push the brads through. You can use any brads that appeal to you or your theme (as long as they are long enough to go through the ribbons and the canvass), as you can see on my Photo Board I also used a variety of embellishments which I attached to the board with brads.

        Step 4
        Push your photos and any other memorabilia under the ribbons or ric rac. And there you have it, your own Photo Board. :D 
         

        Thursday 30 June 2011

        Welcome

        Hello and welcome to my craft blog

        Here I will post step by step guides of all my craft projects.

        Please bear with me, as I am currently setting this blog up... Check back soon for new posts.